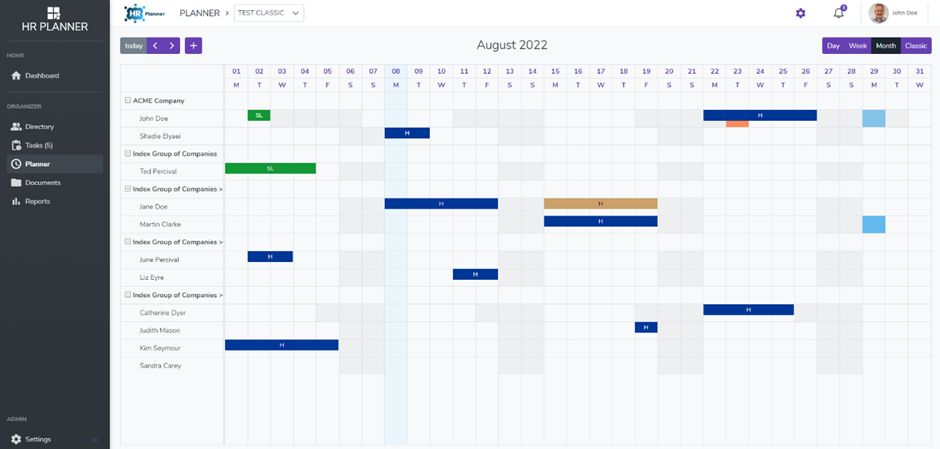
The Planner is one of the most useful screens in the whole of the HRPlanner system. It provides you with a customizable display of your company’s current leave situation as well as any other date related information like Birthdays and Company events.
Let’s look at some of the areas that are available that allow you to individually configure your Planner screen.
Planner Features
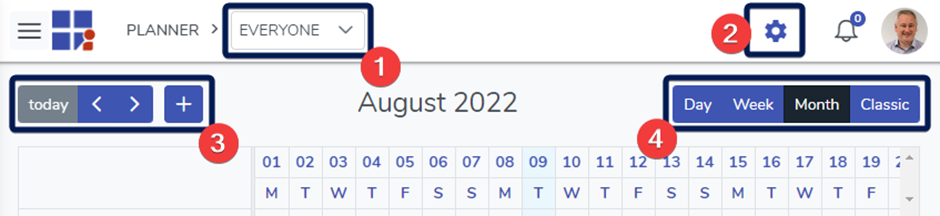
In the screenshot above we have highlighted 4 different areas running along the top of the planner.
1. View Selector
The View Selector provides you with a dropdown list of the Views that you have created and those that have been shared with you.
A View is simply a saved definition of “what” data we want and “how” we want to display it. We can create multiple Views and then quickly switch between using the Selector. Selecting a View from the list will switch the Planner to that View.
2. View Settings
Clicking on the Cog provides access to changing the settings for the currently selected View. You can also create new Views from here. Whether you are editing or creating a new View you will have the following options available to you:
Content
View
The Calendar mode you would like to use which is one of the following:
- Timeline day – Displays the Calendar as a single day in grid format
- Timeline week – Displays the Calendar as a single week in grid format
- Timeline month – Displays the Calendar as a single month in grid format
- Classic – Displays the Calendar as a single month in block format
Initial date
The initial date to use when loading the Calendar. You can choose one of the following:
- Current month
- Current week
- Current leave year – this would be based on the current Employee logged in
- Specific month this year
Number of Months
When the Content – View is set to Timeline Month or Classic how many months should be displayed
Include on planner
Select the type of information you would like to display on the Calendar
Leave Types
If you selected Leave in “Include on planner“ which types of Leave do you want to display?
Timeline options
Employee Grouping
Choose how you would like the Employees to be grouped:
- Group by department tree
- Group by department flattened
- No grouping
Classic options (these settings only apply when Content – View is set to Classic)
Background colour
When displaying Leave entries on the Calendar choose what colour you would like to use for the background:
- Department – the background colour is taken from the Department colour
- Leave type – the background colour is taken from the Leave Type colour
When Department colour is selected any Authorised leave will have the same colour as Unauthorised leave.
Group by leave type?
If you want to display all leave types grouped together then tick this box otherwise the list is alphabetical by Employee name.
Filtering
Filter for
The “Filter for” defines the Employee data that the Planner View will display, and the available options are:
- Companies – display all Employees from the selected Company(s)
- Departments – display all Employees from the selected Department(s)
- Employees – display the selected Employees
- Employee Roles – display all Employees in the selected Employee Role(s)
- Everyone – display every Employee
- Locations – display all Employees from the selected Location(s)
- Just Me – only display the currently logged in Employee
iCal Options
Enable iCal feed
If iCal is enabled for your Organisation then ticking this box will allow you to use the data exported from this Planner View in external applications like Microsoft Outlook and Google Calendar.
Your feed url
This is the URL to use when importing the data into your external Applications like Outlook and Google.
3. Navigation
The Navigation control allows you to jump to today and move forward and backward a day, week or month depending on the currently active view.
Clicking the + button will start a new Leave Request.
Clicking on any employee name for whom you have access permissions will take you to their Employee Overview screen.
4. Calendar Mode Switch
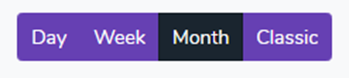
You can quickly switch between the available Calendar modes by clicking on Day, Week, Month or Classic.
Viewing information
Clicking on any of the entries on the calendar will display a popup with a Full Details button like this:
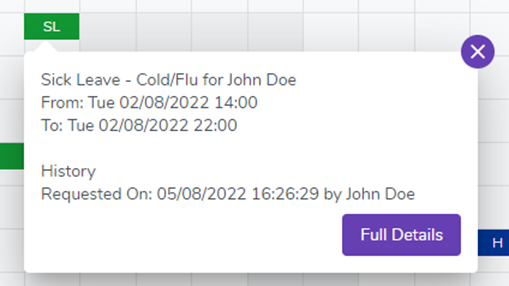
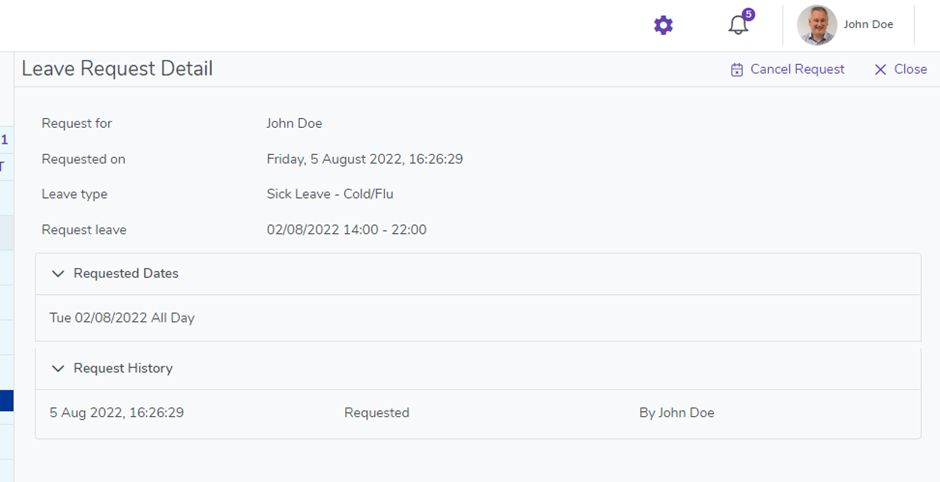
Clicking on the Full Details button will reveal more information regarding the request including links to Cancel and Modify the Request (if enabled by your configuration).
Requesting Leave
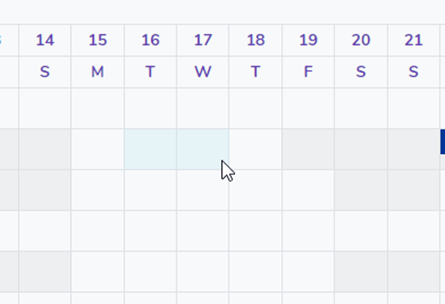
To make a new Request for Leave you can either use the + button in the Navigation or simply click and drag on the Calendar the period required for the required employee.